How to make pressed flower cards
DIY Pressed flower card tutorial
Back in the day when I had 3 kids under the age of 4, money was tight and I began making pressed flower cards as a way to maintain sanity and earn money to finance our first garden. This tutorial describes how I make DIY pressed flower cards on handmade paper - I've always loved how pressed flowers pop against a background of roughly textured white handmade paper.
What you'll need:
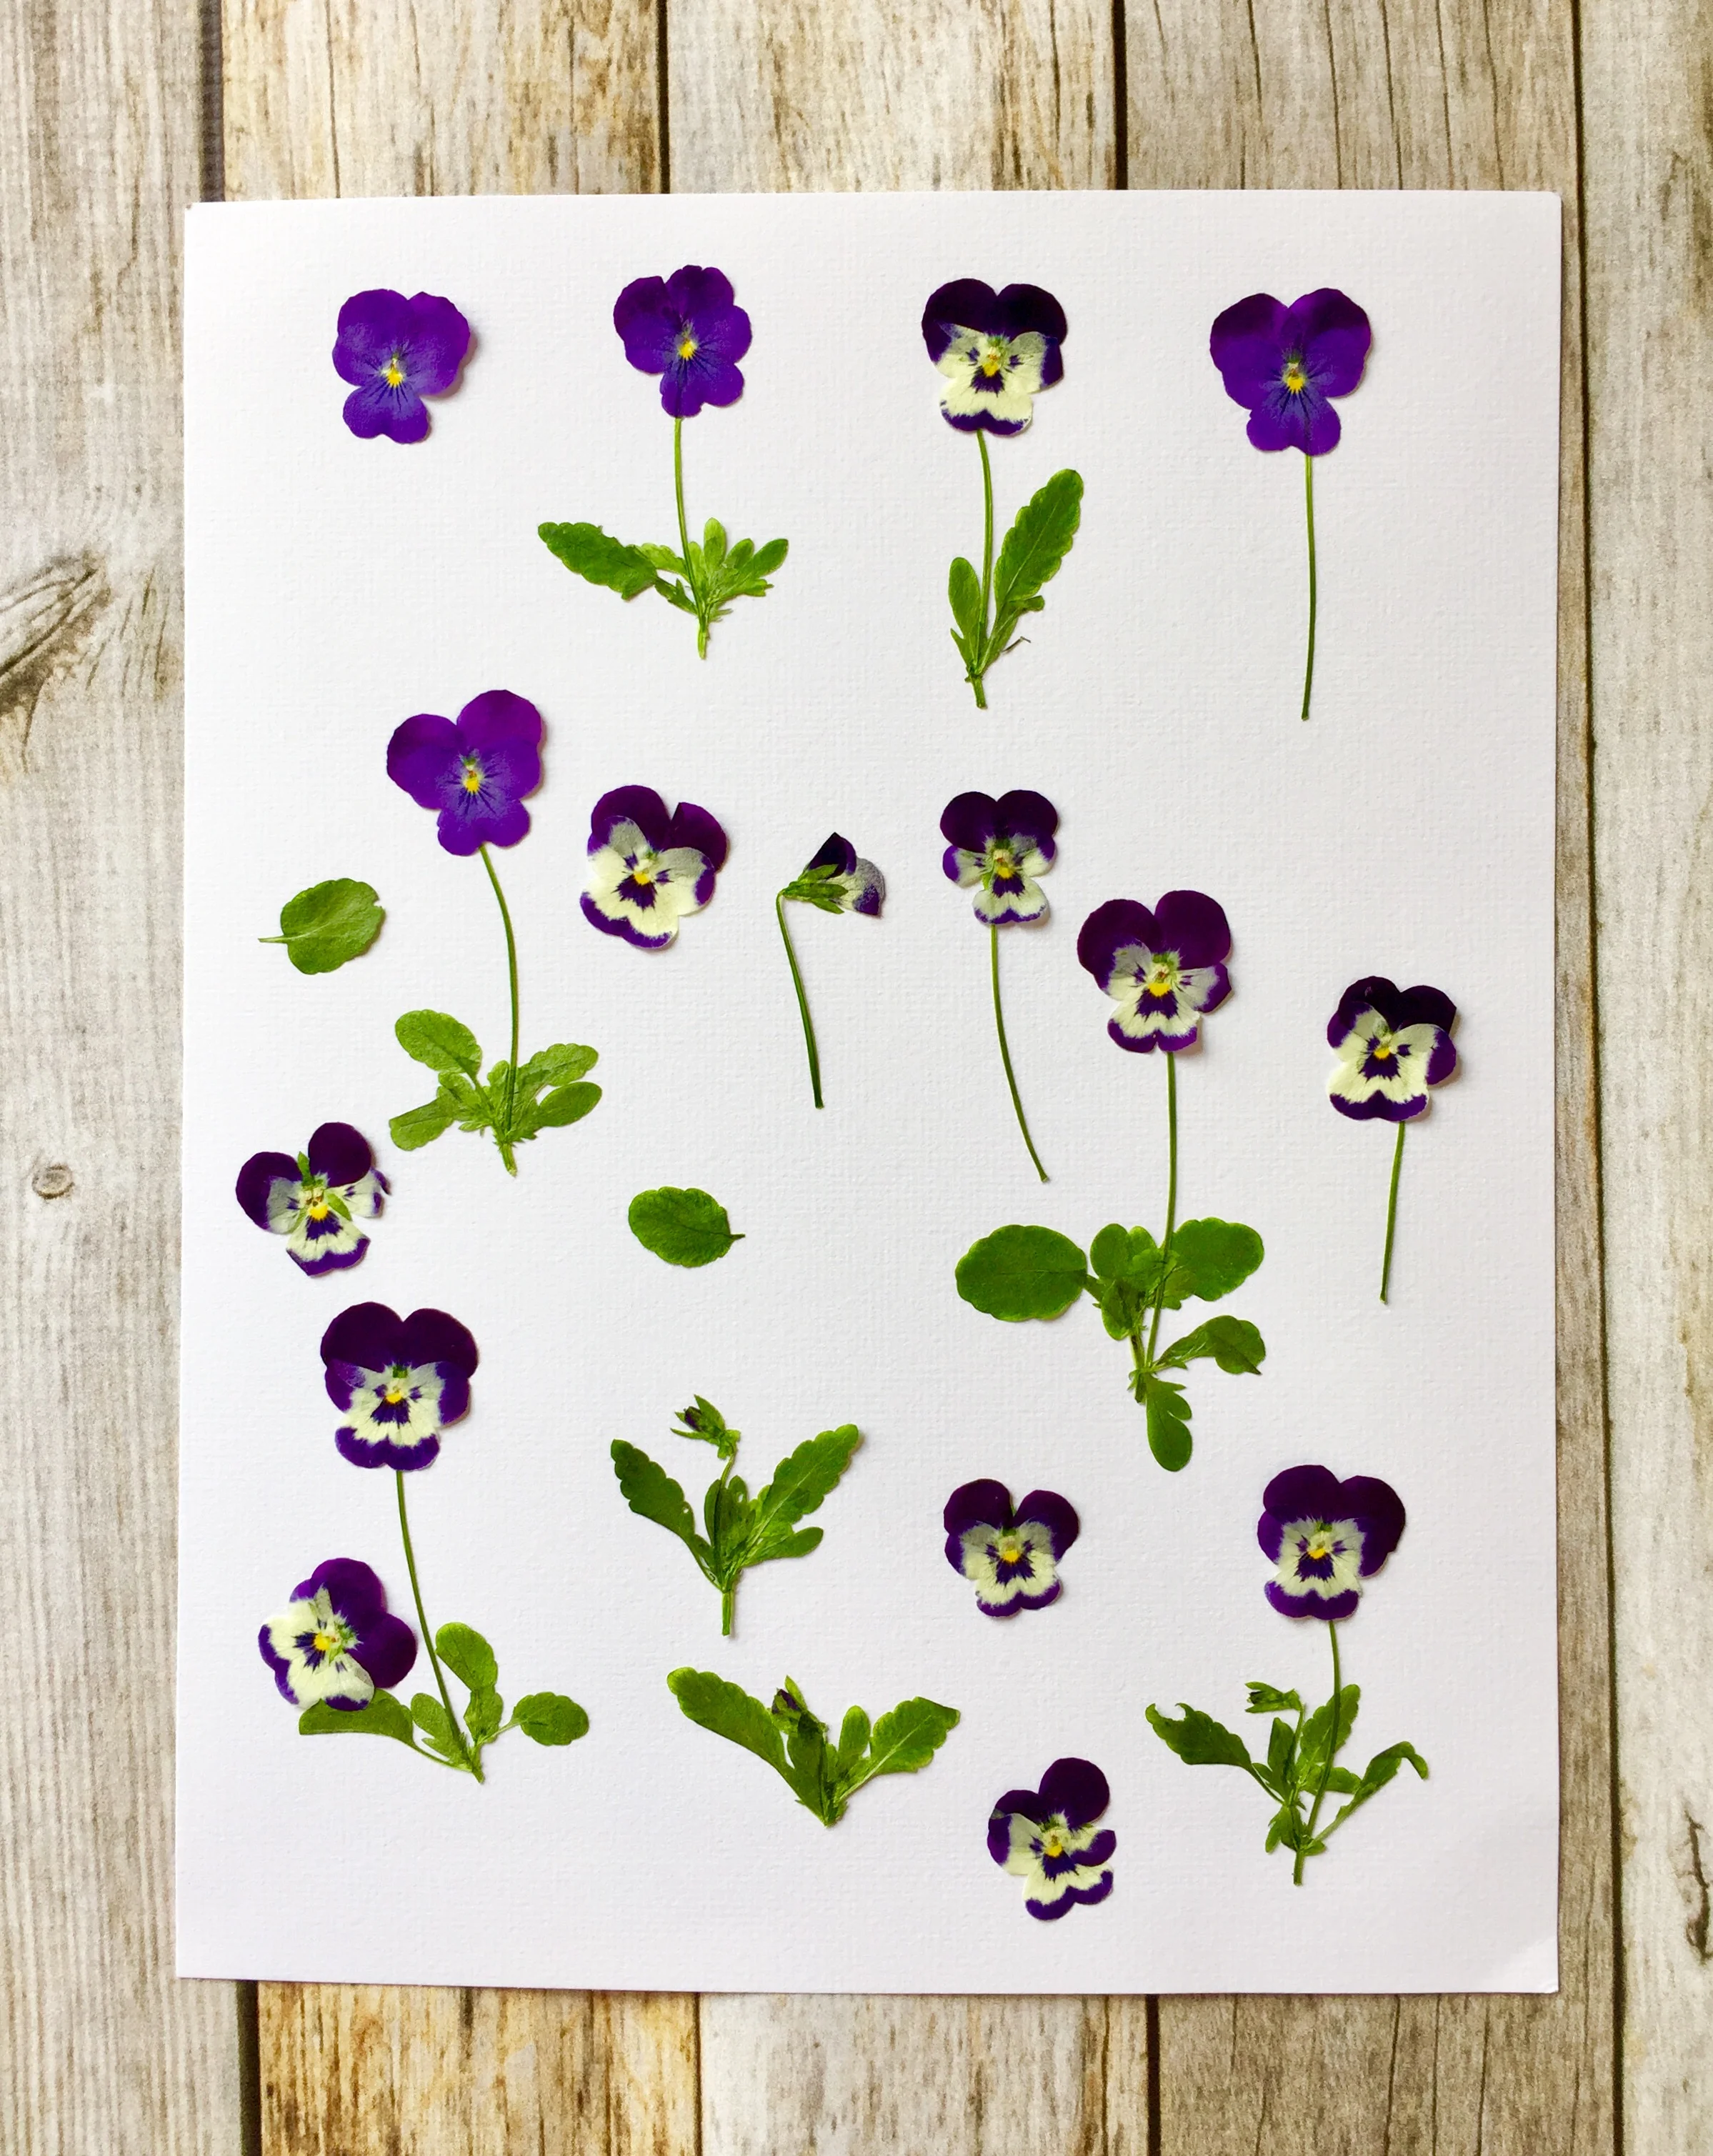
- Pressed flowers: You can press them in a book or standard flower press, but if you are serious and want to retain their brilliant color use a Microfleur microwave flower press.
- Half sheet of card stock: Use the best quality you can find, folded in half for a note card
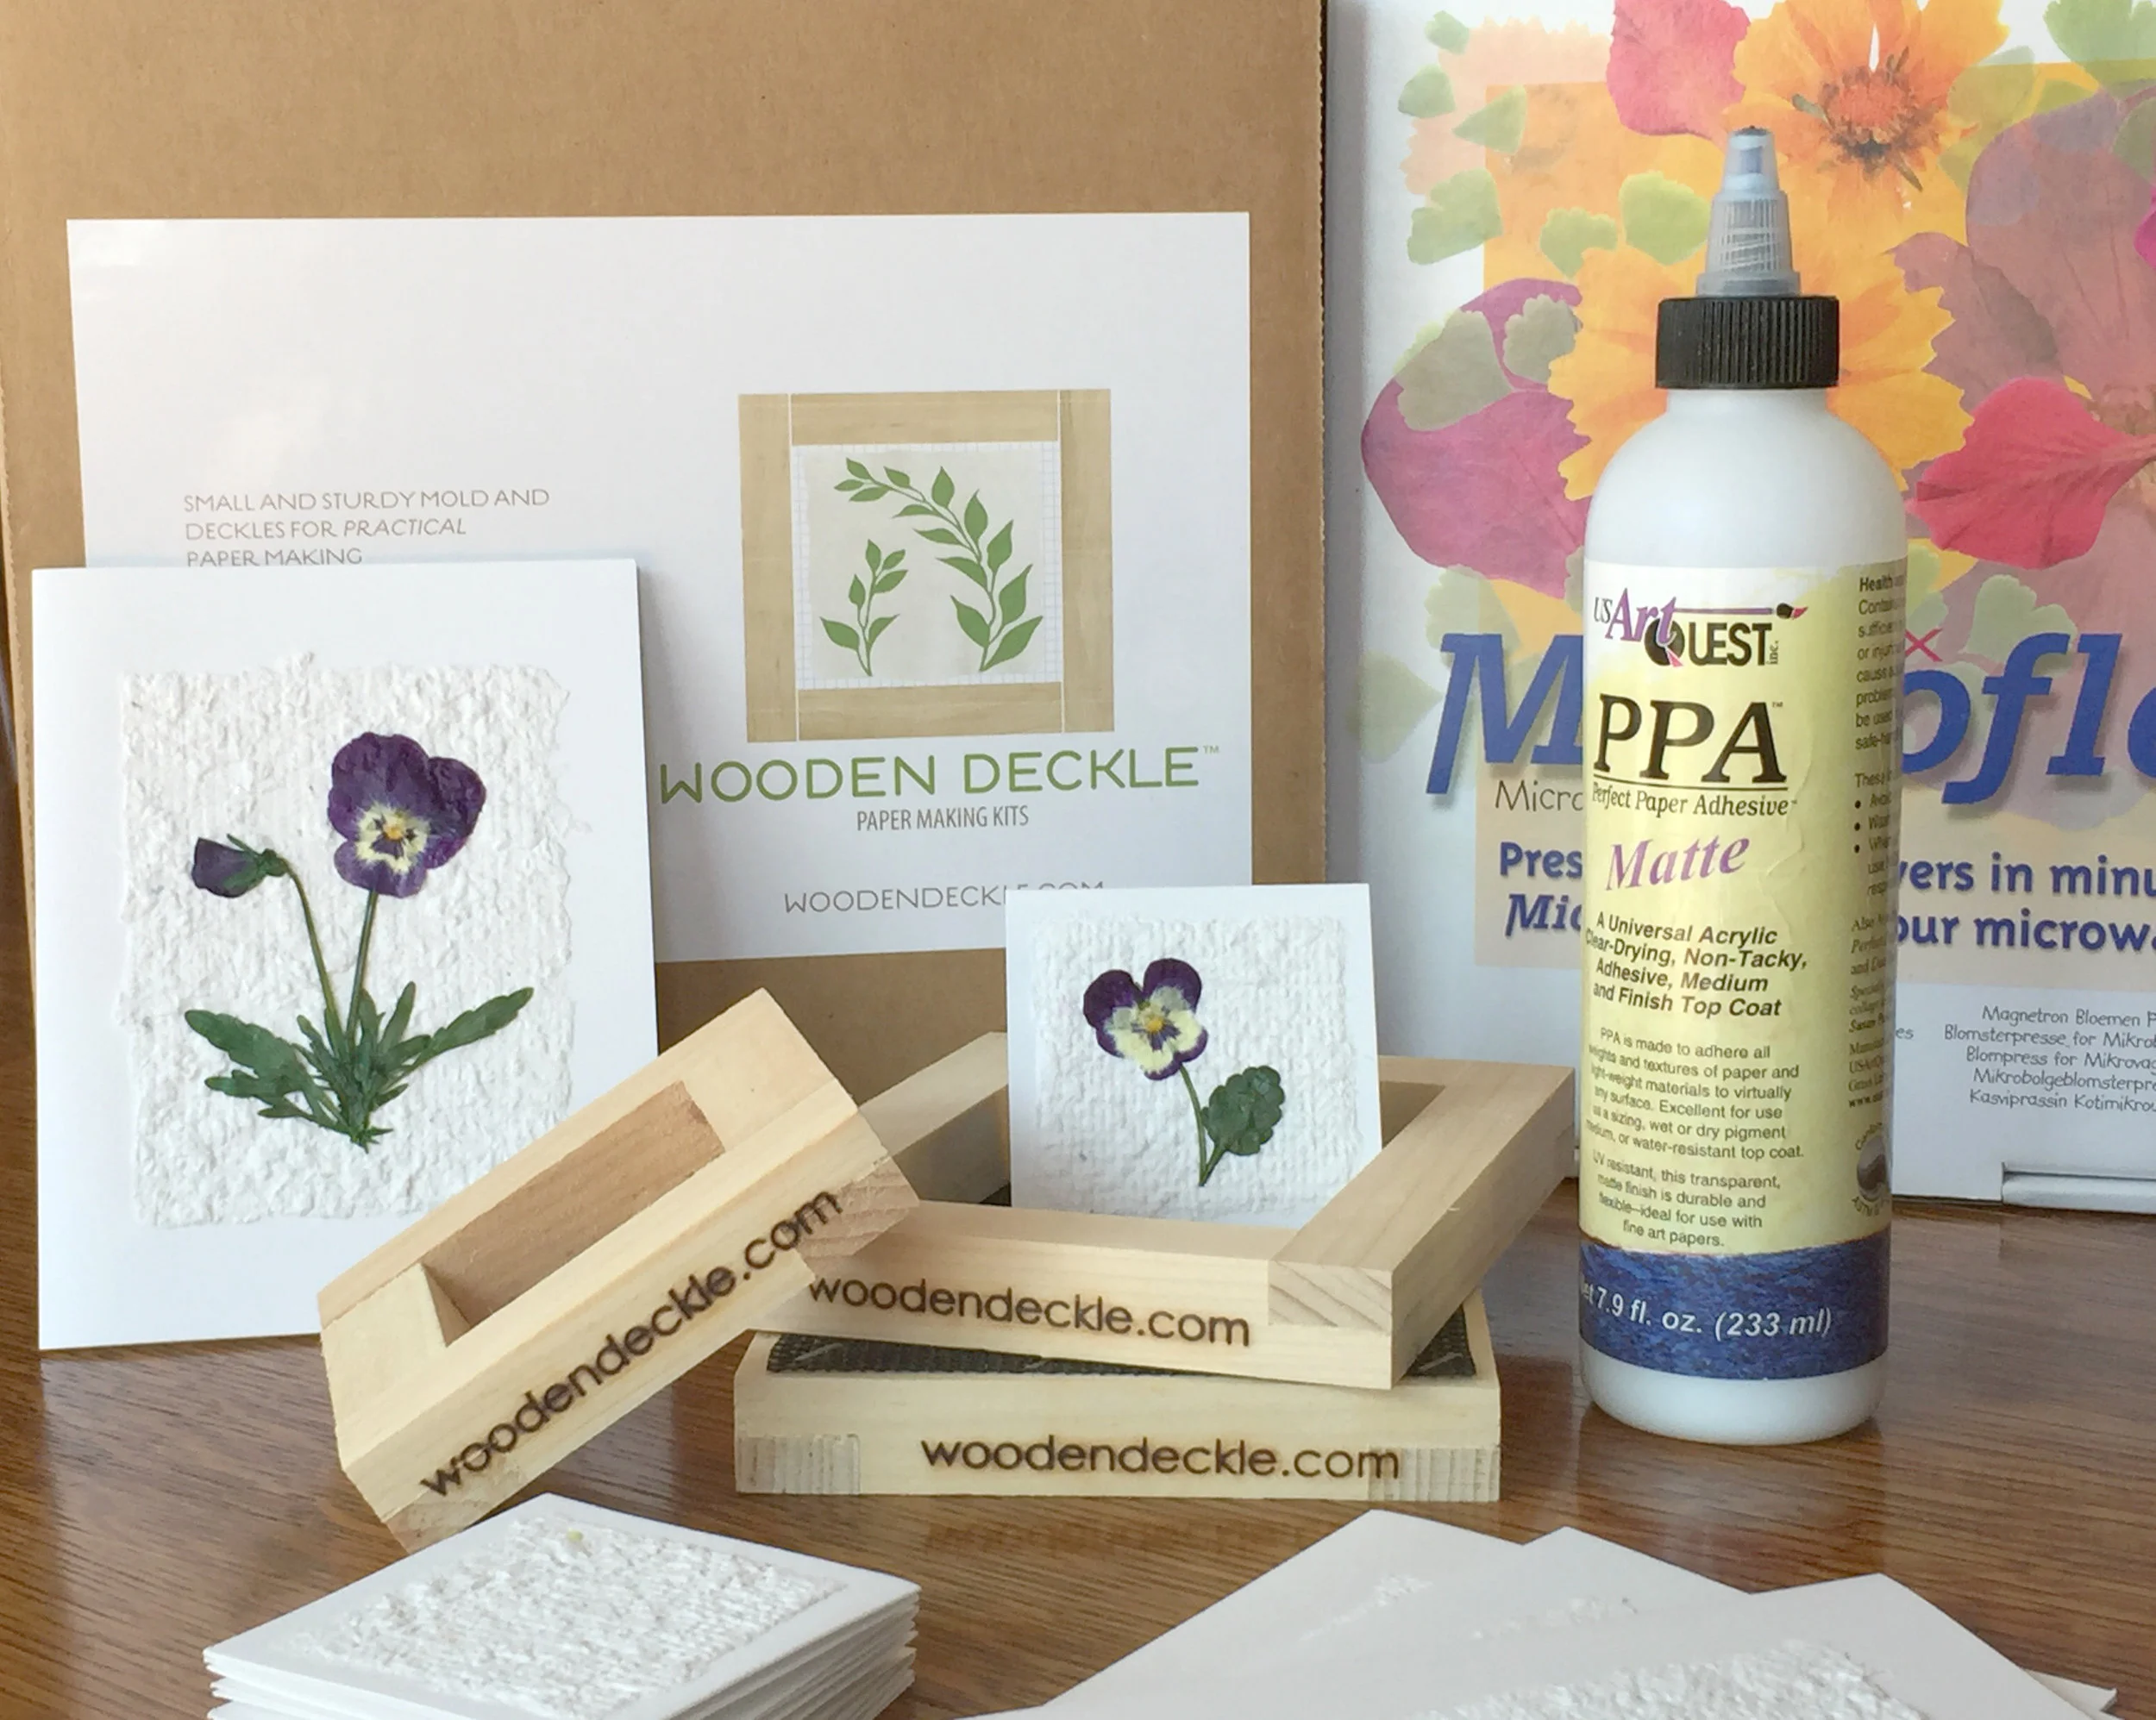
- Handmade paper: I use our note card mold and deckle to make 3x4" pieces
- White glue: For gluing the pressed flowers to the handmade paper - I like Elmer's craft glue
- Perfect Paper Adhesive: Used as a pressed flower sealant. Water resistant, flexible, archival safe, and UV resistant.
1. Press freshly picked flowers in the Microfleur or press of choice.
2. Center and glue handmade paper to card stock.
3. Using a tweezers to grasp, apply dots of glue to the back of the pressed flowers and foliage you've selected. Press firmly onto card. Allow to dry.
4. With a small watercolor brush, apply a light coating of PPA over the entire surface of the pressed flower and foliage. Allow to dry.
Your card is ready to send! The handmade paper makes a sturdy background for the pressed flowers, and the thin coating of PPA offers flexible protection to allow the botanical material to handle the rigors of the U.S. mail, with UV and moisture protection.
Happy creating!


